Difference between revisions of "07 logging expo at dma attachmate"
Jump to navigation
Jump to search


| Line 31: | Line 31: | ||
| − | * 6. This step should be completed as soon after the previous steps as is possible<sup>1</sup>. Click on the | + | * 6. This step should be completed as soon after the previous steps as is possible<sup>1</sup>. Click on the Micro Focus Reflection / Reflection Workspace item in the Windows start-up windows down-arrow. An example appears below: |
| − | [[File: | + | [[File:ReflectionA.png|300px|center]] |
| − | * 7. | + | * 7. Assuming that you had already defined a session with the file on 3270 option, you will need to define it again. You can hit the red "X" as shown below. |
| − | [[File: | + | [[File:ReflectionC.png|400px|center]] |
Revision as of 22:36, 28 January 2020
Logging on to EXPO at DMA with Attachmate
Logging onto the EXPO system at the DMA Service Center involves using the BLS-supplied Attachmate software to get past two screening points: the BLS firewall and the gateway of the EXPO system at DMA. The first step is accomplished with an Internet browser (like Internet Explorer, Google Chrome, or Mozilla Firefox). The second step is accomplished by clicking on an icon on your screen.
The Attachmate log-on procedure is as follows:
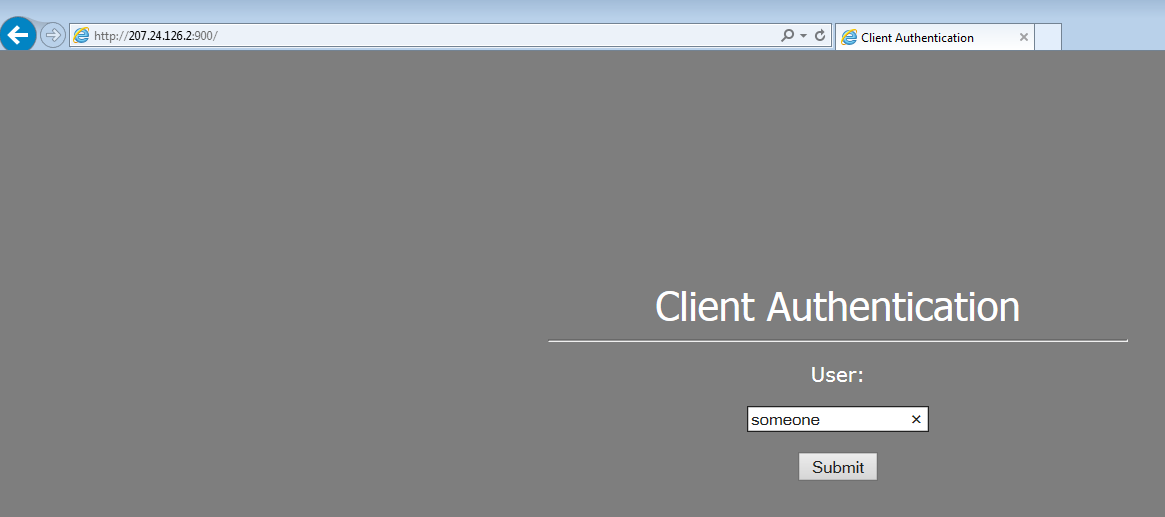
- 1. In an Internet browser, type in the IP address for the connection to the BLS control site, namely; “http:207.24.126.2:900”. This is the IP address for the BLS security that is to come. A sample of the screen is shown on top of the page that follows.
- 2. Enter your User ID, which would be your BLS ID (for instance, if you are a member of the States group (in BLS email), with an ID of “someone@bls.gov”, you would type in “someone” in the User field and press the Submit button.

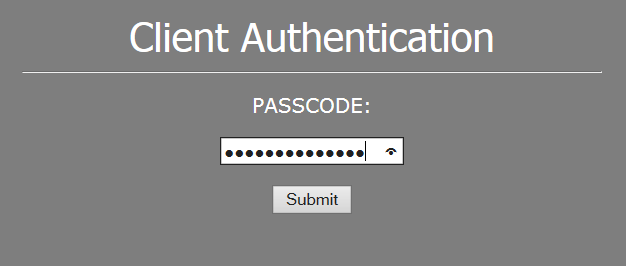
- 3. You will need to type in your pass code (shown as PASSCODE: in the prompt; i.e., the PIN of your security token, followed by the 6-digit value current displayed on your SecurID token). Press the Submit button again.

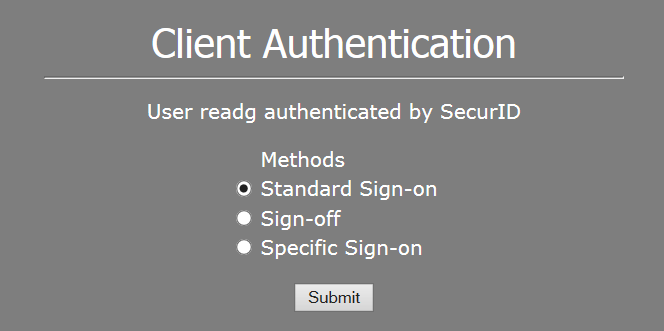
- 4. You will get a notification with radio buttons to choose the method of sign-on; this can be a Standard Sign-on, a Sign-off, or a Specific Sign-on; select the Standard Sign-on radio button (shown below), and press the Submit button.

- 5. If you’ve typed everything correctly, you should get a screen similar to the one on the left. If you made an error during the logon procedure, it will show the message on the right. In that case, you will need to retype the values shown at the top of the page. Once the message on the left is displayed, continue to Step 6.

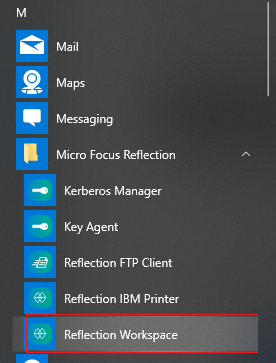
- 6. This step should be completed as soon after the previous steps as is possible1. Click on the Micro Focus Reflection / Reflection Workspace item in the Windows start-up windows down-arrow. An example appears below:

- 7. Assuming that you had already defined a session with the file on 3270 option, you will need to define it again. You can hit the red "X" as shown below.

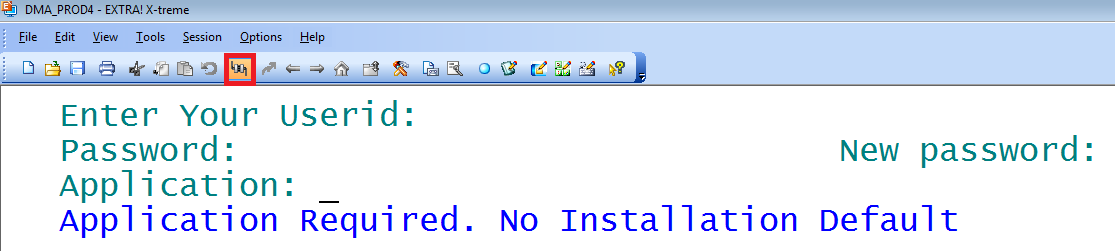
- 8. A screen should appear with the options displayed below. If the session is not yet active (i.e., if there is no four-line entry that includes the Application line), click on Connect to establish the connection. The connect button is highlighted below:

1 This is primarily to avoid the possibility of a time-out error, as the acceptance of a sign-on from BLS should be promptly accompanied by the DMA sign-on.
Related Links